Facebook
 X
X
 Pinterest
 Copy Link
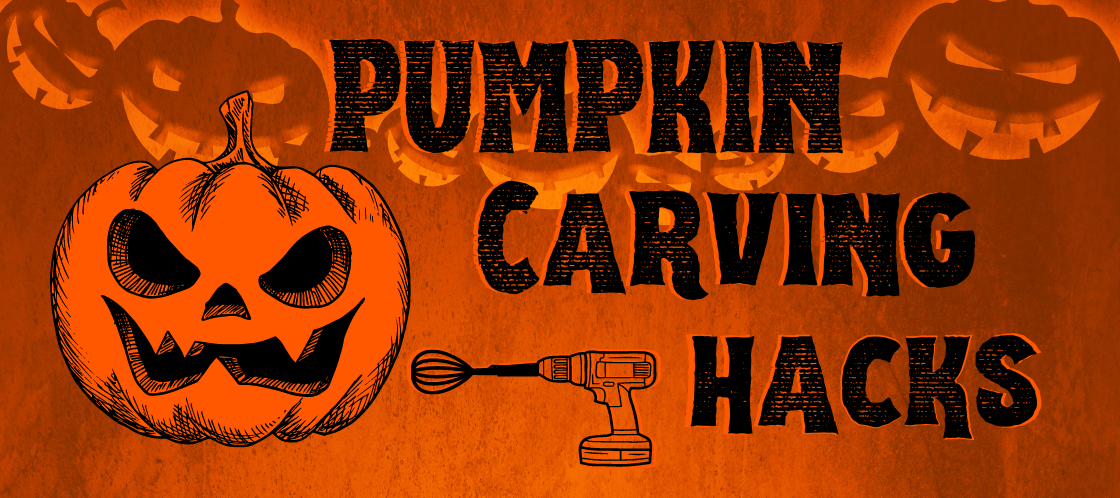
The Anatomy of Pumpkins
Let’s face the facts. As fun as carving a pumpkin can be, the process can also be a LOT of work. You start out at the pumpkin patch or buy your pumpkin at a store. Bring it home. Clean it off. Saw open the top to reveal meaty orange flesh, sticky pulp and stringy webs holding on to a mess of seeds. And this is where the real work begins. Gutting your gourd requires you to submerge your hands, wrists and arms into a wet, sticky, and gooey cavern of pumpkin insides. Then you have to dig and scrape the insides out to have a clean palette to carve into and later light up. I know this task can be a tedious turn off. With this in mind, I compiled a list of pumpkin carving hacks that I have seen that will make the process easier.

 Cut at an Angle
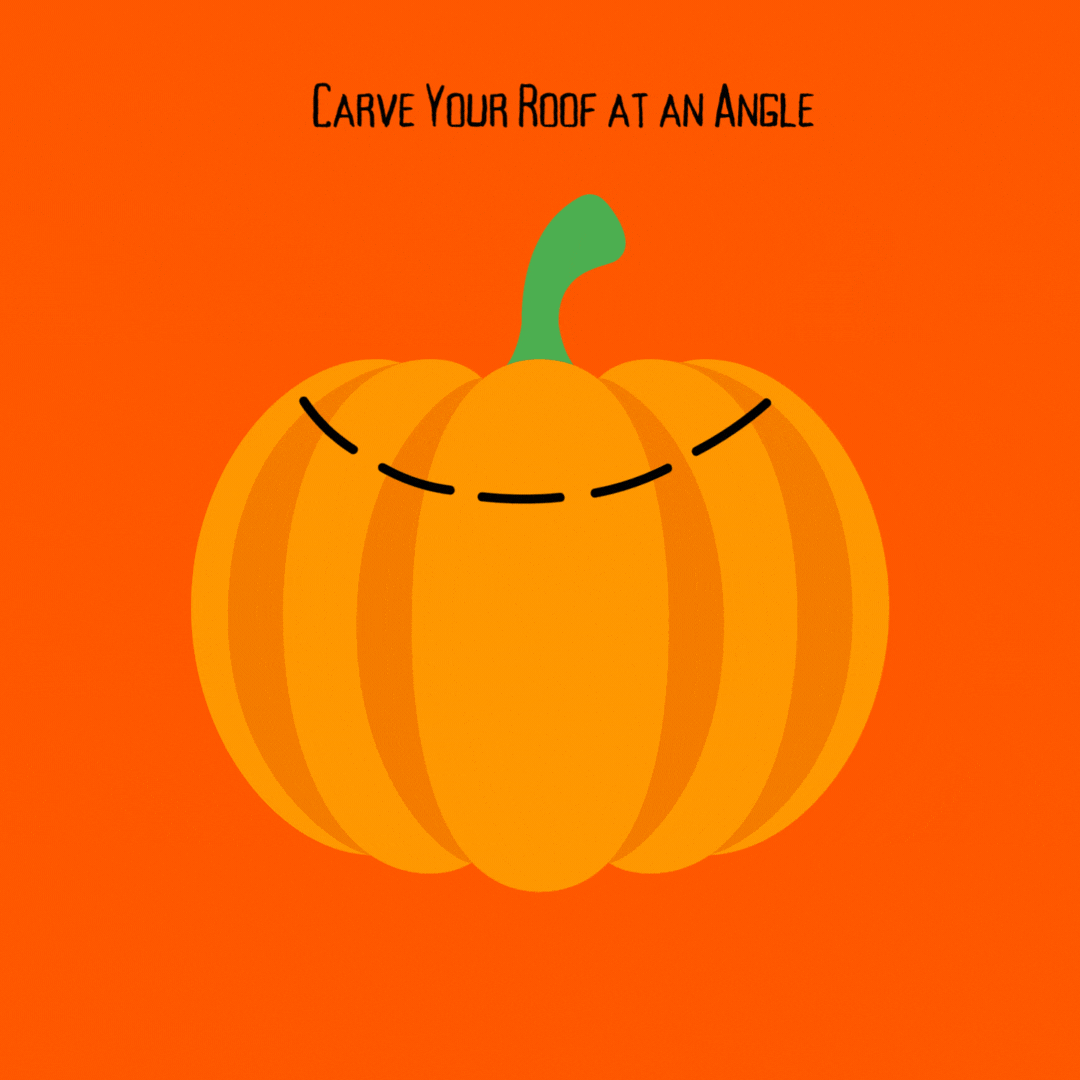
To me, this is a no brainer. But if you’re new to the pumpkin carving game make sure you cut your initial opening at an angle to prevent your pumpkin roof from caving in.
The First Cut is Made to Gut

If you are planning to light your pumpkin up using nontraditional lighting then you should try cutting your pumpkin open at the back or the bottom. This technique will also help you to avoid a pumpkin roof collapse. Just remember if you use an open flame candle you will still have to cut a chimney type of opening on the top of your pumpkin to give the smoke an escape route.
Gutting Made Easier: Using a Drill and a Beater
The fluorescent orange flimsy carving kits sold at the store can be a major pain to use. I have bent and broken many carving tools which is why I was excited to see this gutting hack. If you make your pumpkin opening large enough, you can clean out your pumpkin in minutes using this method. Simply tighten a mixer whisk onto your power drill and have at it. If you look on YouTube there are many videos showing how to do this technique but I linked one at random below.
Gutting Made Easier: Using an Electric Hand Mixer
If you’re less of the Tim “The Toolman” Taylor variety, the previous hack will work using an electric hand mixer as well. You just don’t get the same amount of power from it.
Use A Dry Erase Marker To Make Your Design
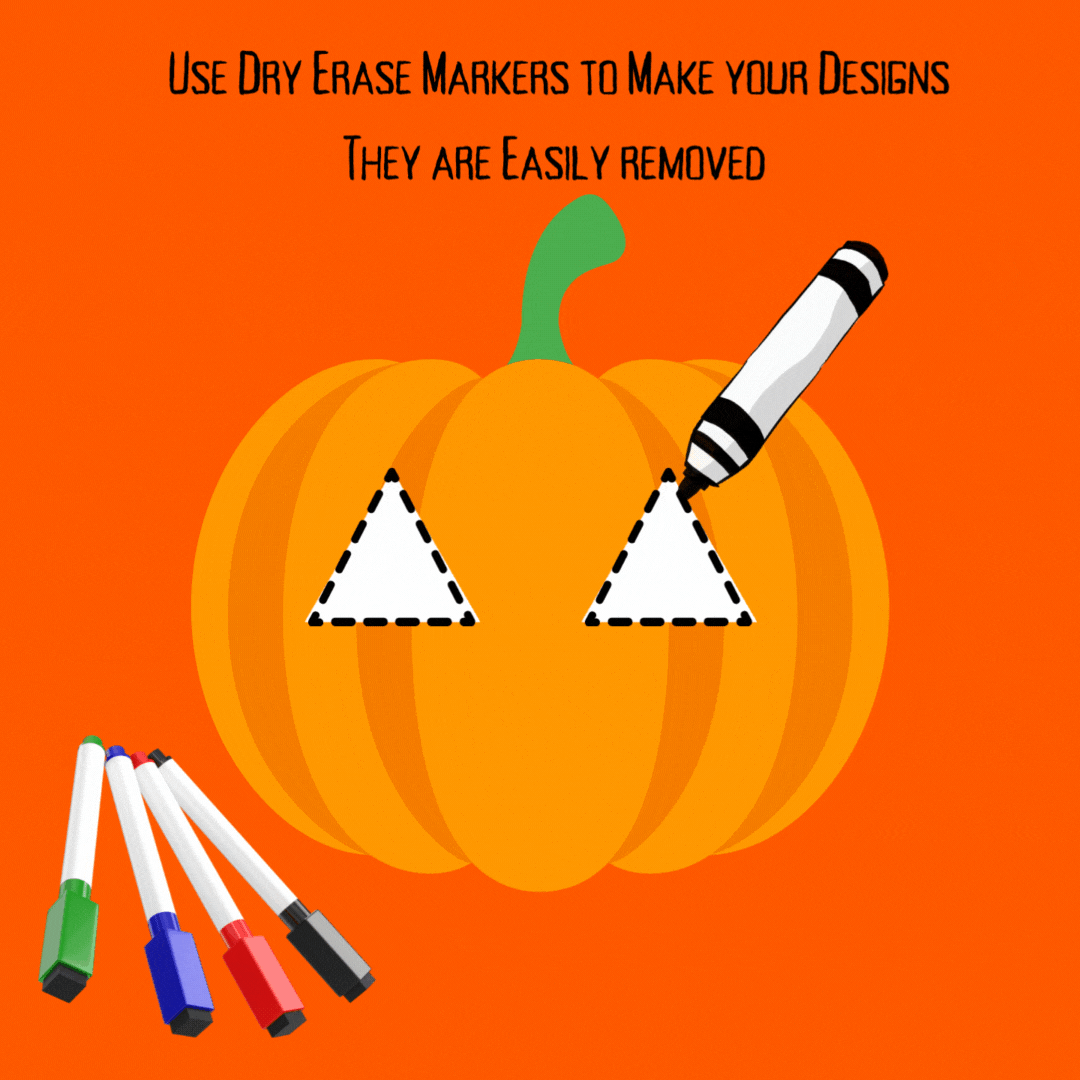
Using a dry erase marker to trace or sketch out your design will allow you to wipe away any mistakes with ease.
Skip the Carving and Use Cookie Cutters and a Hammer to Make Your Design
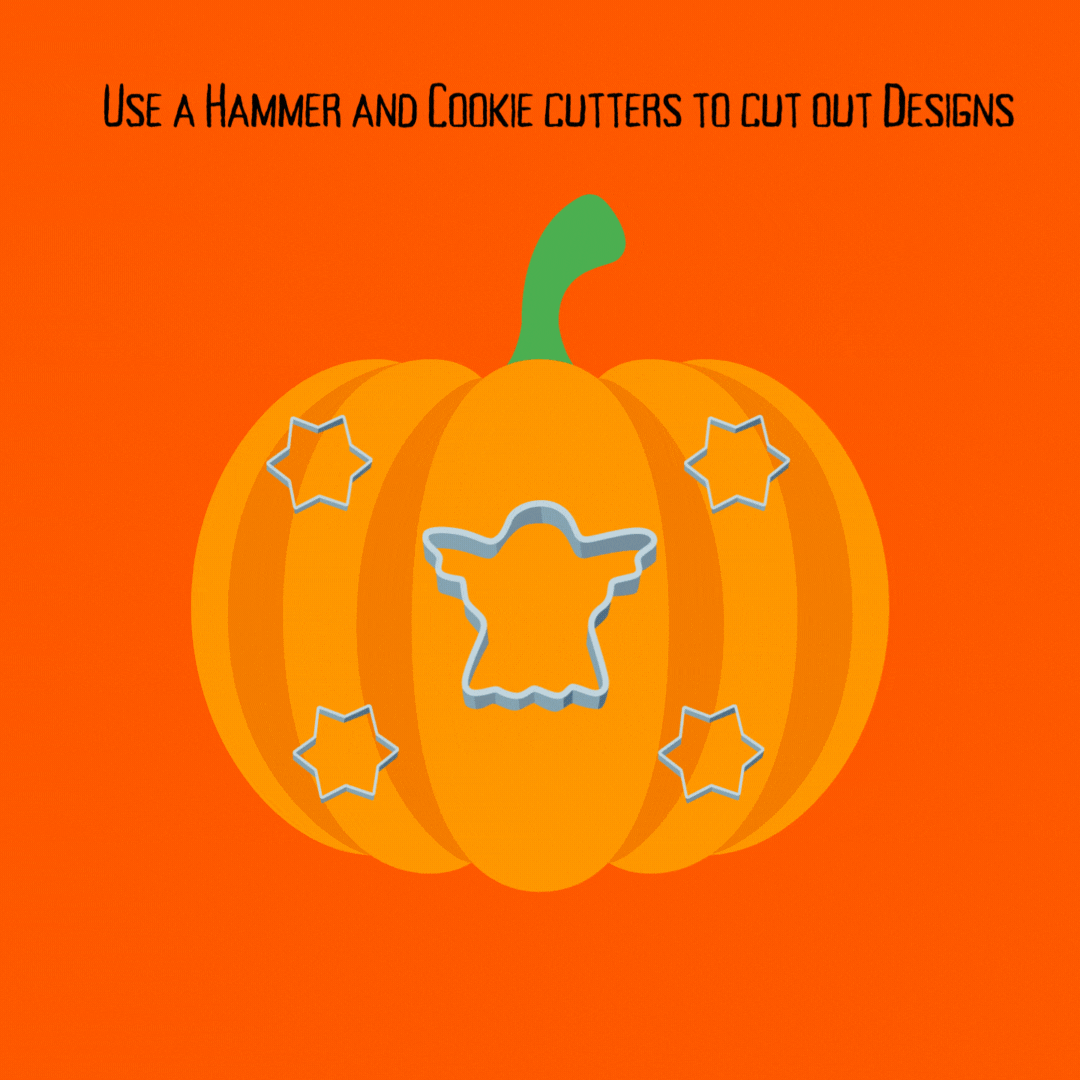
If you have metal cookie cutters you can place them on your pumpkin and tap them into its flesh using a hammer to cut out your design.
Drill Pumpkin Carving Hack

If you’re a fan of the power tool hacks, you’ll like this one. Instead of carving, drill designs into your pumpkin!
Use Lite Brite Bulbs To Make Your Pumpkin Face

Start by using a drill, or a hammer and a nail to poke holes in your desired shape. Then insert Lite Brite bulbs into them to light up your pumpkin in a unique way.
Pumpkin Carving- There’s a Hack for That!
As you can see, there are so many pumpkin carving hacks that will make your Halloween crafting easier. If you’re not a fan of touching the guts, there’s a hack for that. Don’t like carving out designs? There’s a hack for that. Even if you want more unique lighting, there’s a hack for that. The list goes on. Pumpkin carving can be as easy or as difficult as you want to make it! So have fun trying out our hacks and let us know if there are any you would be willing to share!
@windermeremillcreek on Instagram
@Windermere Mill Creek Town Center on Facebook
@wremillcreek on Twitter
By Kerriann Jenkins